


Views: 0 Author: Site Editor Publish Time: 2026-06-30 Origin: Site


Moving a plant to a large outdoor container demands a significant investment of time, soil, and money. Whether you are transplanting a young tree or designing a lush summer floral display, getting the dimensions right is absolutely critical. Choosing the wrong size leads to two distinct failure states. Going too large invites devastating root rot, while picking a pot too small causes stunted growth and rapid soil dry-out.
Heavy terracotta or concrete planters pose logistical nightmares for large outdoor arrangements. You need solutions offering mobility alongside rugged durability. Plastic provides these exact benefits—provided you size it correctly and specify the right material grade for exterior conditions. We will provide a concrete, horticultural-backed framework for calculating the exact size you need.
You will learn how to accurately evaluate large plastic flower pots against your plants' root systems. We will also detail the mandatory material features required for outdoor survival, ensuring your landscape investments thrive across multiple seasons.
The Golden Rule of Sizing: For large plants, select a pot that is 2 to 4 inches wider in diameter than the plant’s current root ball.
Depth vs. Width: Match the pot's dimensions to the plant's root architecture (deep pots for taproots like small trees; wider, shallow pots for spreading perennials).
The Weight Trade-off: The primary benefit of large plastic pots (lightweight) is also their biggest outdoor risk. Factoring in internal anchoring (gravel/bricks) is mandatory for tall plants in high-wind areas.
Feature Non-Negotiables: For outdoor use, UV-resistant resin or high-density polyethylene (HDPE) and robust drainage capabilities are required to prevent winter cracking and summer root rot.
A common mistake in container gardening involves "over-potting." Many people buy massive containers, assuming extra space gives plants room to grow. This approach usually backfires. Plant roots can only absorb moisture from soil they touch. When you place a small root ball into a giant container, you leave behind vast pockets of soil lacking active roots. This excess soil acts just like a sponge. It retains moisture long after watering, cutting off oxygen access. Stagnant, waterlogged soil inevitably causes fatal root rot. You must restrict volume upgrades to keep soil moisture balanced.
Horticultural standards dictate strict upgrade limits. Establish the 2-to-4 inch rule as your primary evaluation metric. If your current plant lives in a 10-inch pot, the maximum upgrade should reach 12 to 14 inches in diameter. Adding a two-inch buffer works best for slow-growing perennials. A four-inch buffer accommodates aggressive growers like large tropicals or fast-spreading shrubs. This buffer provides fresh nutrients and space while preventing soil moisture stagnation.
Translating nursery sizes into decorative planter dimensions often confuses buyers. Nurseries sell plants by volume gallons, while decorative containers list measurements in inches. Navigating this mismatch requires a reliable conversion framework.
Refer to this standard conversion table when mapping nursery plants to decorative containers:
Nursery Size (Gallons) | Approximate Nursery Pot Diameter | Required Decorative Pot Diameter |
|---|---|---|
1 Gallon | 6 - 7 inches | 8 - 10 inches |
3 Gallon | 10 - 11 inches | 12 - 14 inches |
5 Gallon | 11 - 12 inches | 14 - 16 inches |
10 Gallon | 15 - 17 inches | 18 - 20 inches |
15 Gallon | 17 - 18 inches | 20 - 24 inches |
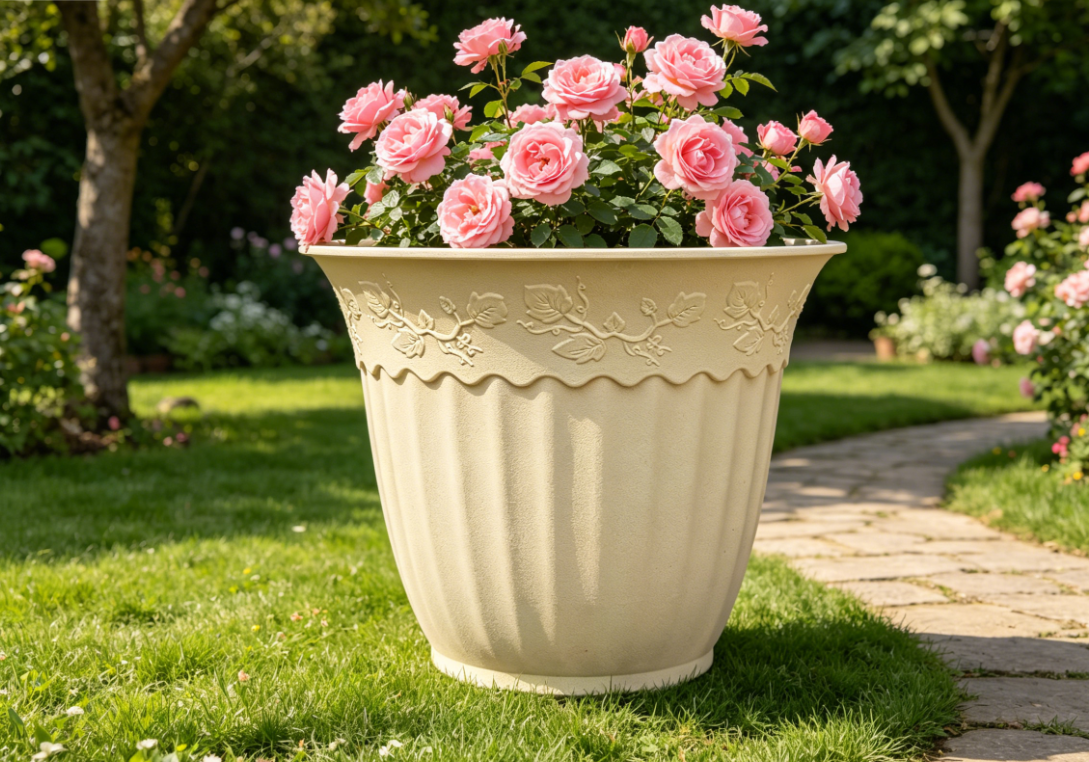
Selecting large outdoor planters requires looking beyond mere volume. You must align the interior shape with specific root architecture. Plants establish underground networks in highly distinct patterns. Matching the container geometry to these patterns dictates long-term survival.
Small trees and deep-rooted shrubs demand specific structural accommodations:
Japanese Maples: They grow intricate downward root systems. You need planters offering significant depth, ideally a minimum of 16 to 24 inches.
Boxwoods: These dense shrubs rely on vertical root stabilization. Deep pots anchor them securely and create a low center of gravity.
Fruit Trees: Citrus or dwarf fig trees require extreme depth to establish firm taproots, ensuring heavy top fruit does not cause tipping.
Mixed arrangements require an entirely different approach. A classic "Thriller, Filler, Spiller" design combines tall focal plants, mounding mid-layer plants, and trailing vines. These diverse roots compete fiercely for surface nutrients and water. Instead of extreme depth, you need wider diameters. Choose containers measuring 18 inches or wider across the rim. A broad surface area provides ample horizontal real estate, preventing aggressive varieties from choking out delicate companions.
Tall ornamental grasses present unique structural challenges. Varieties like Pampas grass or Zebra grass gain massive top weight quickly. The wind catches their dense foliage easily, turning them into sails. They need heavy-bottomed, tapered designs. The base width must be substantial enough to counterbalance the mature height of the grass. A narrow, unstable base guarantees the container will blow over during the first severe storm.
Understanding material science separates successful container gardens from cracked, faded disasters. Consumers frequently group all synthetic containers under a single "plastic" umbrella. This generalization ignores massive variations in manufacturing quality.
Standard plastics utilize injection-molding techniques. Factories inject thin, low-grade polymers into rapid molds. These cheap containers become brittle in freezing temperatures. Winter frost causes micro-fractures, and the pot eventually shatters. In contrast, premium models utilize high-density polyethylene (HDPE) or rotational-molded resins. Rotational molding involves spinning heated plastic over a long cycle. This process builds thick, uniform walls devoid of internal stress points. They withstand severe weather, impacts, and intense freeze-thaw cycles without failing.
Below is a quick chart comparing standard plastics against premium HDPE/Resin materials:
Feature | Standard Thin Plastic | Rotational-Molded HDPE / Resin |
|---|---|---|
Winter Durability | Highly brittle; prone to cracking under frost. | Flexible; expands and contracts safely during freeze-thaw cycles. |
Wall Thickness | Thin, single layer; offers zero insulation. | Thick or double-walled; excellent root insulation. |
Longevity | Usually 1 to 2 seasons before failure. | Can last 5 to 10+ years outdoors. |
Ultraviolet (UV) resistance represents another strict requirement. Unprotected plastic degrades rapidly under direct sunlight. UV rays break down the chemical bonds within the polymer. First, the colors fade heavily. Next, the structural integrity turns chalky. You must explicitly verify UV-stabilized materials when purchasing large plastic flower pots. Manufacturers blend UV inhibitors directly into the resin before molding, protecting the container across multiple harsh summers.
Thermal insulation plays a hidden but vital role in root health. Plastic naturally transmits heat. If you place a thin, dark-colored pot in full sun, the interior soil temperature skyrockets. Roots literally cook inside the container. Thick-walled or double-walled planters solve this issue. A double-wall design traps a pocket of air between the inner and outer shells. This air acts as an insulation barrier, protecting delicate root zones from extreme overheating during July afternoons.
Managing water mechanics inside large volumes of soil requires precision. Soil compacts easily when packed into big containers. As compaction increases, oxygen drops and water drainage slows down. A large pot absolutely must feature pre-drilled holes or distinct, easy-to-use punch-out points. Without an exit route, water pools at the bottom, creating a toxic swamp that suffocates roots.
We must address the persistent "gravel at the bottom" myth. Many well-meaning gardeners add a thick layer of gravel beneath their potting soil, assuming it improves drainage. Science proves the opposite. Water does not move easily from a fine material (soil) into a coarse material (gravel). Instead, the soil acts like a sponge, holding onto the water until it becomes completely saturated. This creates a "perched water table." The soggy, saturated layer of soil sits directly above the gravel. By adding gravel, you actually move the drowning zone higher up into the container, pushing it closer to your plant’s sensitive root collar. To ensure proper drainage, fill the entire pot with uniform, high-quality potting mix.
Self-watering features, often called sub-irrigation planters (SIPs), offer incredible convenience when deployed correctly. These containers hold a water reservoir at the bottom, using capillary action to wick moisture upward into the soil. Assess your environment before committing to SIPs. They perform beautifully on covered porches, patios, or beneath awnings. However, they frequently fail in fully exposed outdoor areas experiencing heavy rainfall. Torrential rain rapidly floods the lower reservoir. Since these chambers lack fast top-drainage mechanisms, the entire pot becomes waterlogged. If you use SIPs in exposed areas, ensure they feature an overflow valve designed to dump excess rain immediately.
Mastering container gardening involves architectural styling alongside horticulture. Spatial proportion dictates whether an arrangement looks striking or clumsy. Landscape architects consistently apply the Rule of Thirds. The mature plant should measure roughly 1.5 to 2 times the height of the planter itself. If you buy a two-foot-tall container, aim for a plant reaching three to four feet in height. This ratio provides optimal visual balance, ensuring the planter does not dwarf the foliage or appear precariously top-heavy.
Mitigating wind risk is a constant battle. The primary advantage of plastic is its lightweight nature. This also creates your biggest vulnerability outdoors. Tall plants act as wind-catchers. Implementing proper stabilization tactics lowers the center of gravity permanently.
Follow these exact steps to anchor your pots safely:
Position the empty container in its final display location on your patio or lawn. Moving it later will be incredibly difficult.
Add heavy stones, standard masonry bricks, or sealed sandbags directly into the bottom of the container.
Arrange these heavy objects carefully around the drainage holes. You must ensure they do not block water from escaping.
Apply a layer of landscape fabric over the weights to prevent soil from washing out.
Fill the remaining volume with your chosen potting soil.
Grouping and scaling principles apply heavily when buying in multiples. Uniform sizing rarely creates an engaging landscape design. A straight row of identical containers often looks rigid and commercial. You should mix varying sizes to create depth and interest. For example, pair one dominant 24-inch pot with two secondary 16-inch pots. Clustering different heights and diameters draws the eye naturally through your garden space, mimicking organic growth patterns.
Successful container gardening starts with precise measurements, not ambitious guesswork. Successful sizing relies entirely on your plant’s current root ball diameter, not future growth aspirations. Upgrading by just 2 to 4 inches provides ample space for healthy expansion without trapping stagnant water in empty soil voids.
Your immediate next steps involve taking physical measurements. Pull your current plant gently from its nursery pot and measure the diameter. Calculate the necessary buffer zone to find your target size. As you shortlist large plastic flower pots, rigorously verify the material specifications. Demand clear proof of UV protection, confirm the presence of adequate drainage holes, and ensure you have a stabilization plan ready before the first bag of soil is poured.
A: Yes. Excess soil that roots cannot reach acts like a sponge, holding stagnant water that suffocates the plant and causes root rot.
A: Place bricks, heavy river rocks, or sandbags at the very bottom of the pot before adding soil. Ensure this weight does not block the drainage holes.
A: If the pot is fully exposed to heavy rain and only has one small central hole, drilling 3-4 additional half-inch holes around the perimeter is highly recommended to prevent waterlogging.


